Spaghetti Squash Chow Mein 

I do the majority of my grocery shopping online now through a click and collect service here in Airdrie. It’s a great service and I find that I spend so much less money on my groceries because of it. I am thrifty, so I always shop from the flyers and deals section. I end up buying random things to try because I’m able to justify trying things if they are on sale haha. Our last shop brought home a spaghetti squash because they were on sale. Both Matt and I have never tried spaghetti squash but I have been wanting to so we took the plunge. 

I went on Pinterest of course to look for inspiration. I found a spaghetti squash chow mein recipe and I didn’t have/want to buy some of the things so I just decided to take the inspiration from that idea and just wing it!  I think that I have a good palette and I’m able to taste most dishes and know what is missing. I knew the flavours and taste I was looking for so I just went for it. 

Preheat your oven to 375 degrees while you prep the spaghetti squash for roasting. 

First, I cut one of the ends off of the spaghetti squash so I could stand it up vertically and cut it in half.  Then comes the fun part (insert eye roll here), cleaning out the gross seeds and innards.  I don’t like olive oil (so shoot me), so I brushed the inside of both halves with canola oil and then seasoned with seasoning salt, pepper and garlic powder. We LOVE garlic, I think I’ve mentioned that before..so it’s usually pretty predominant in my meals. 

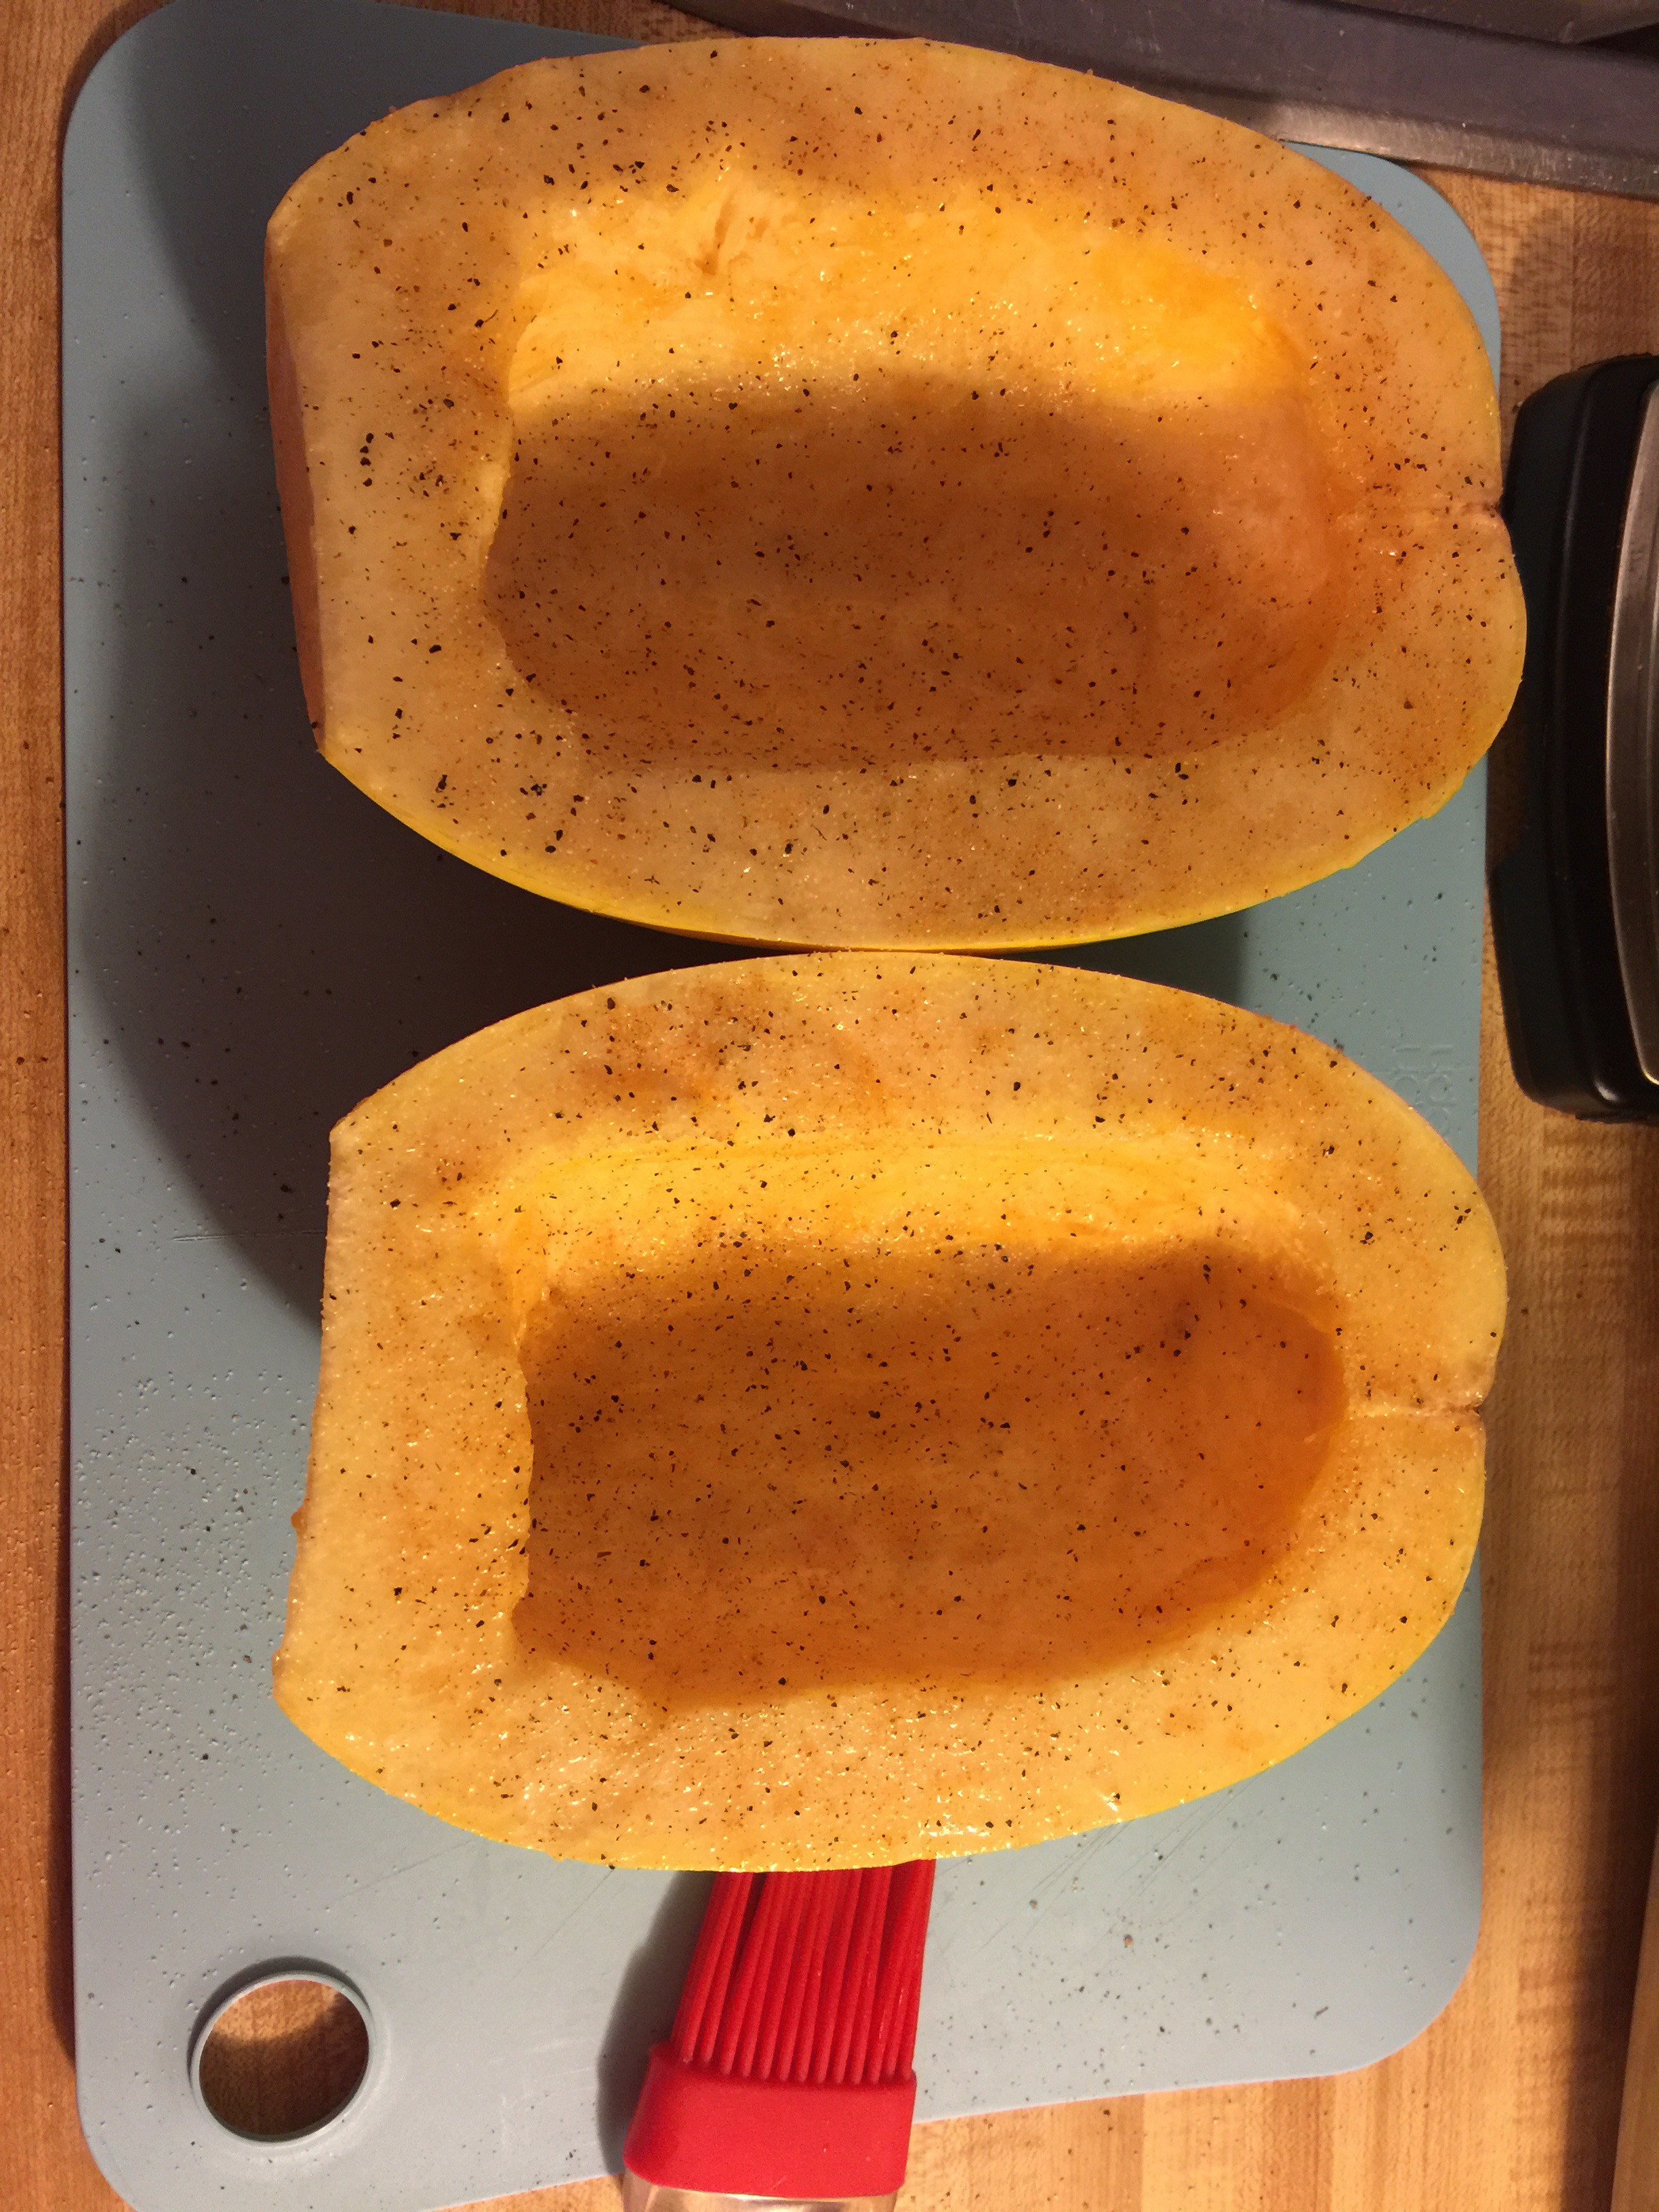
Then I placed the squash skin side up and put it in the oven for 40 minutes. 


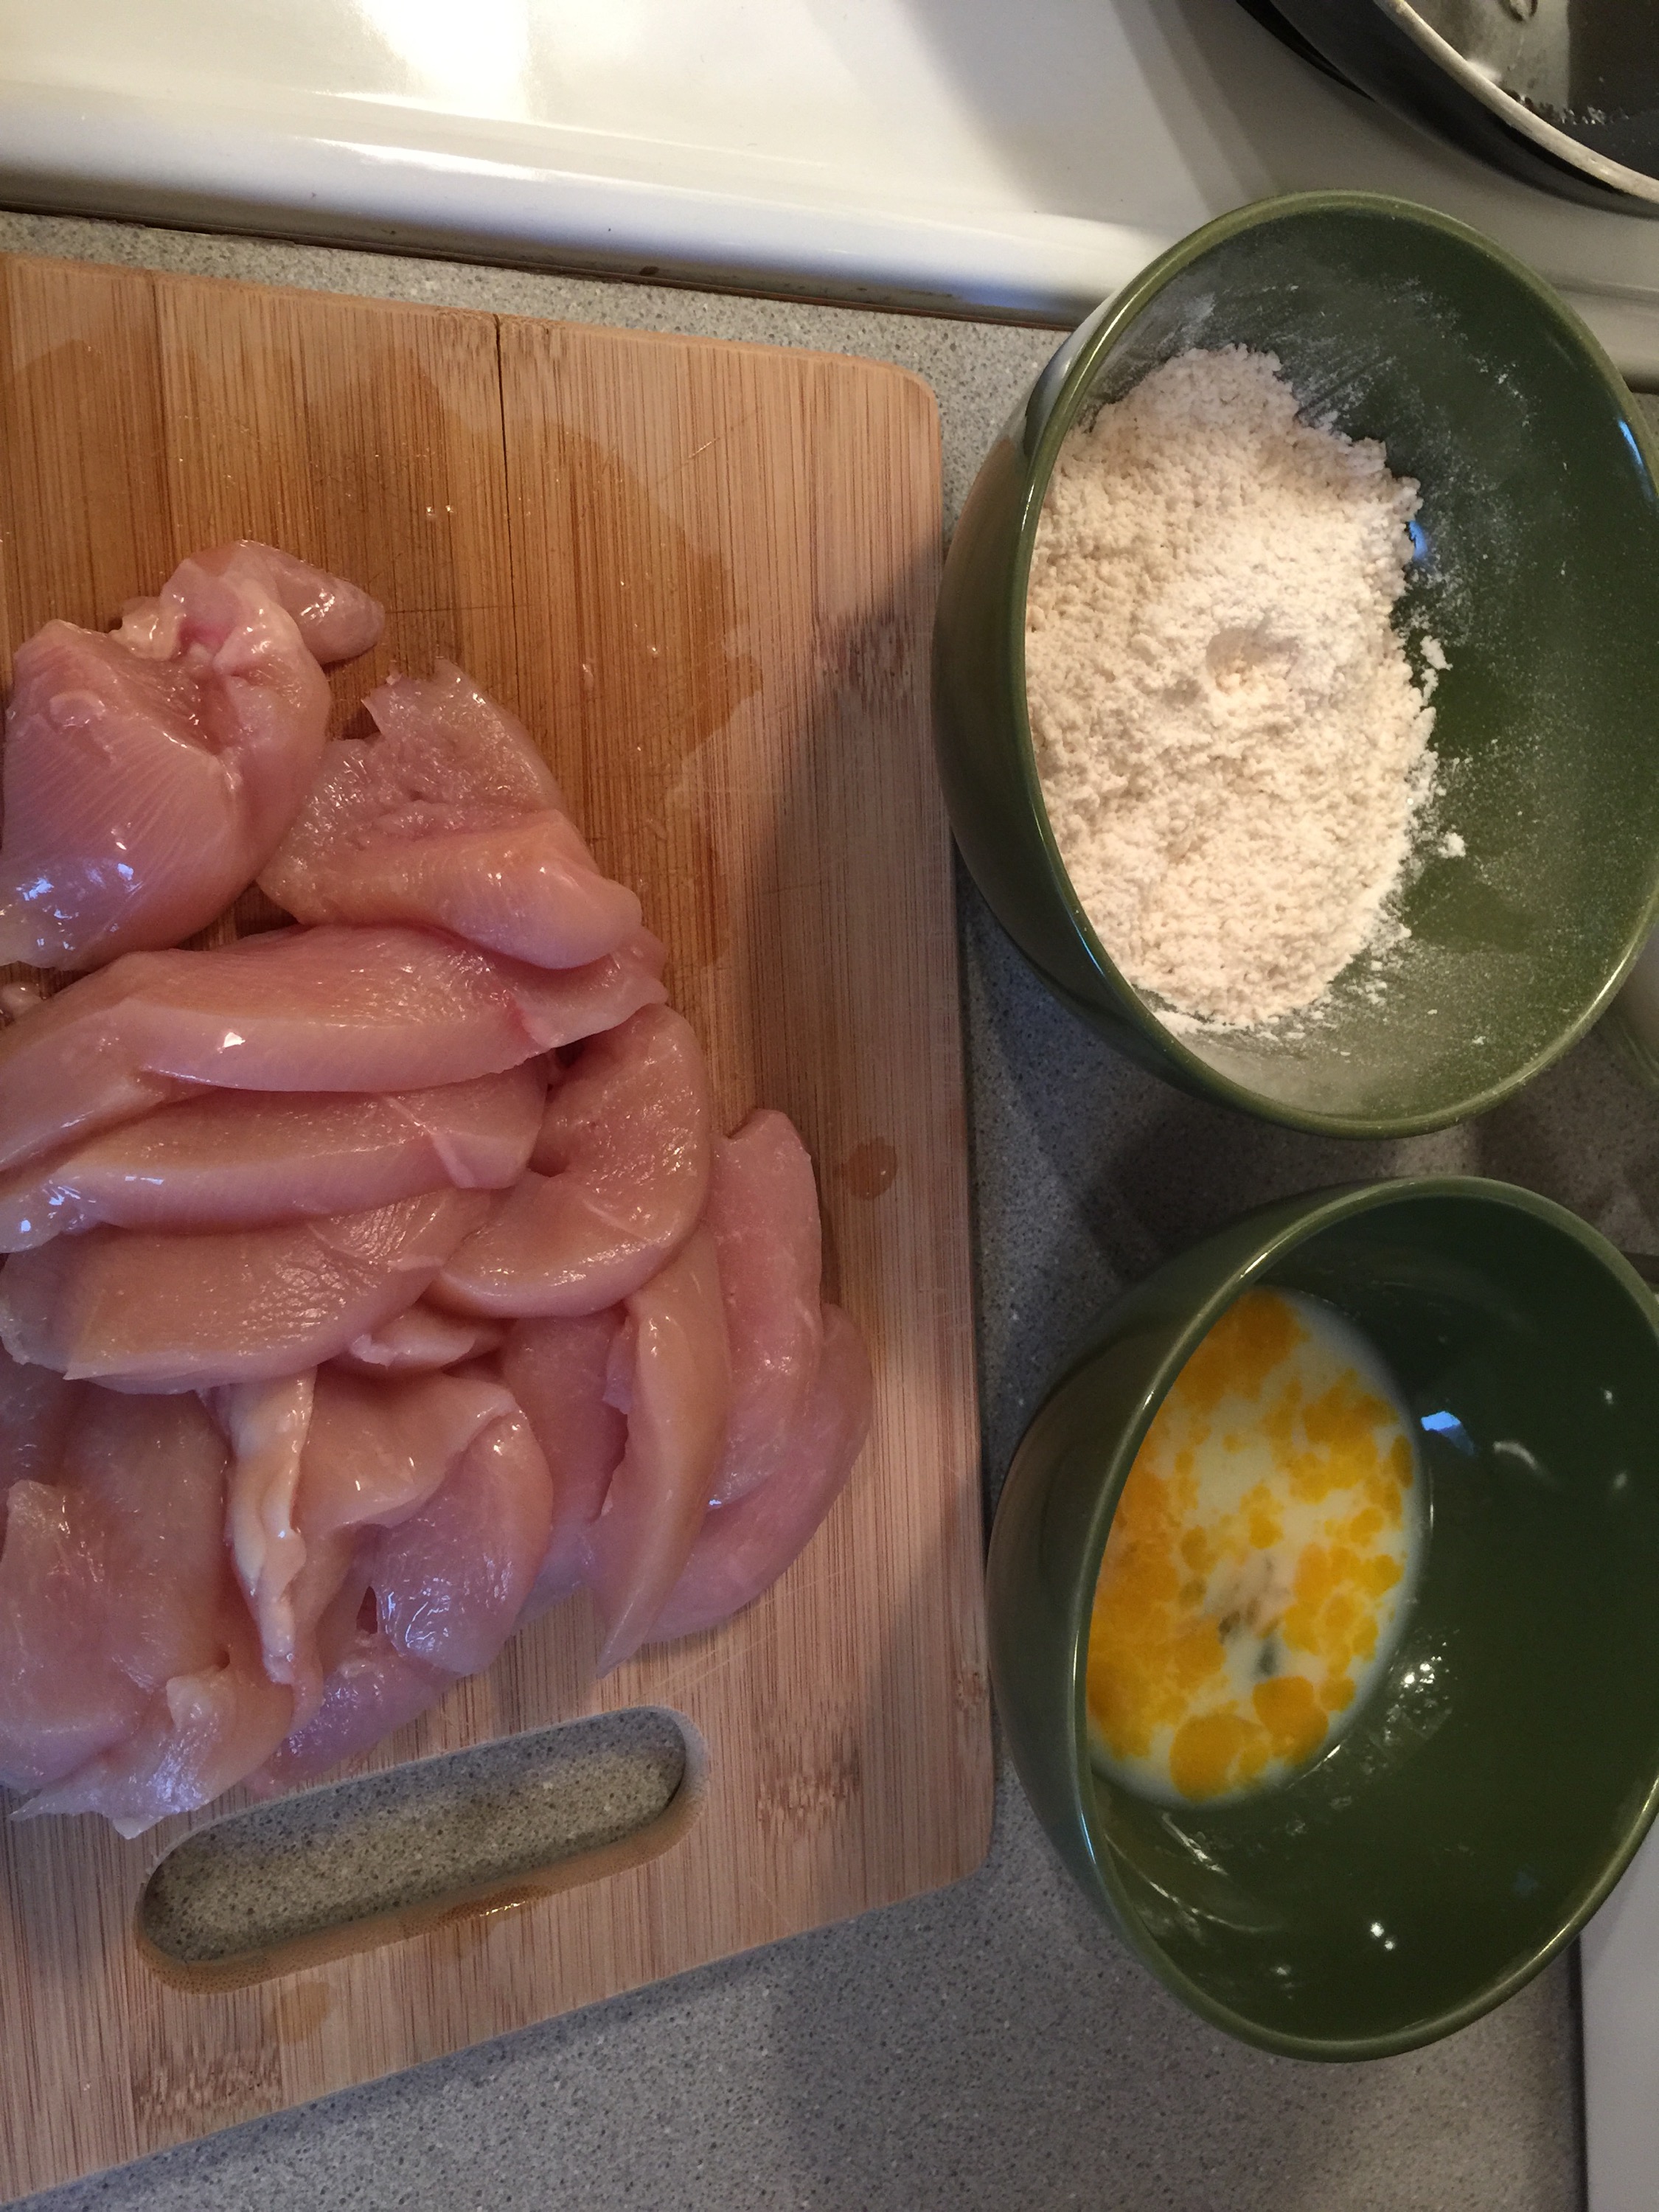
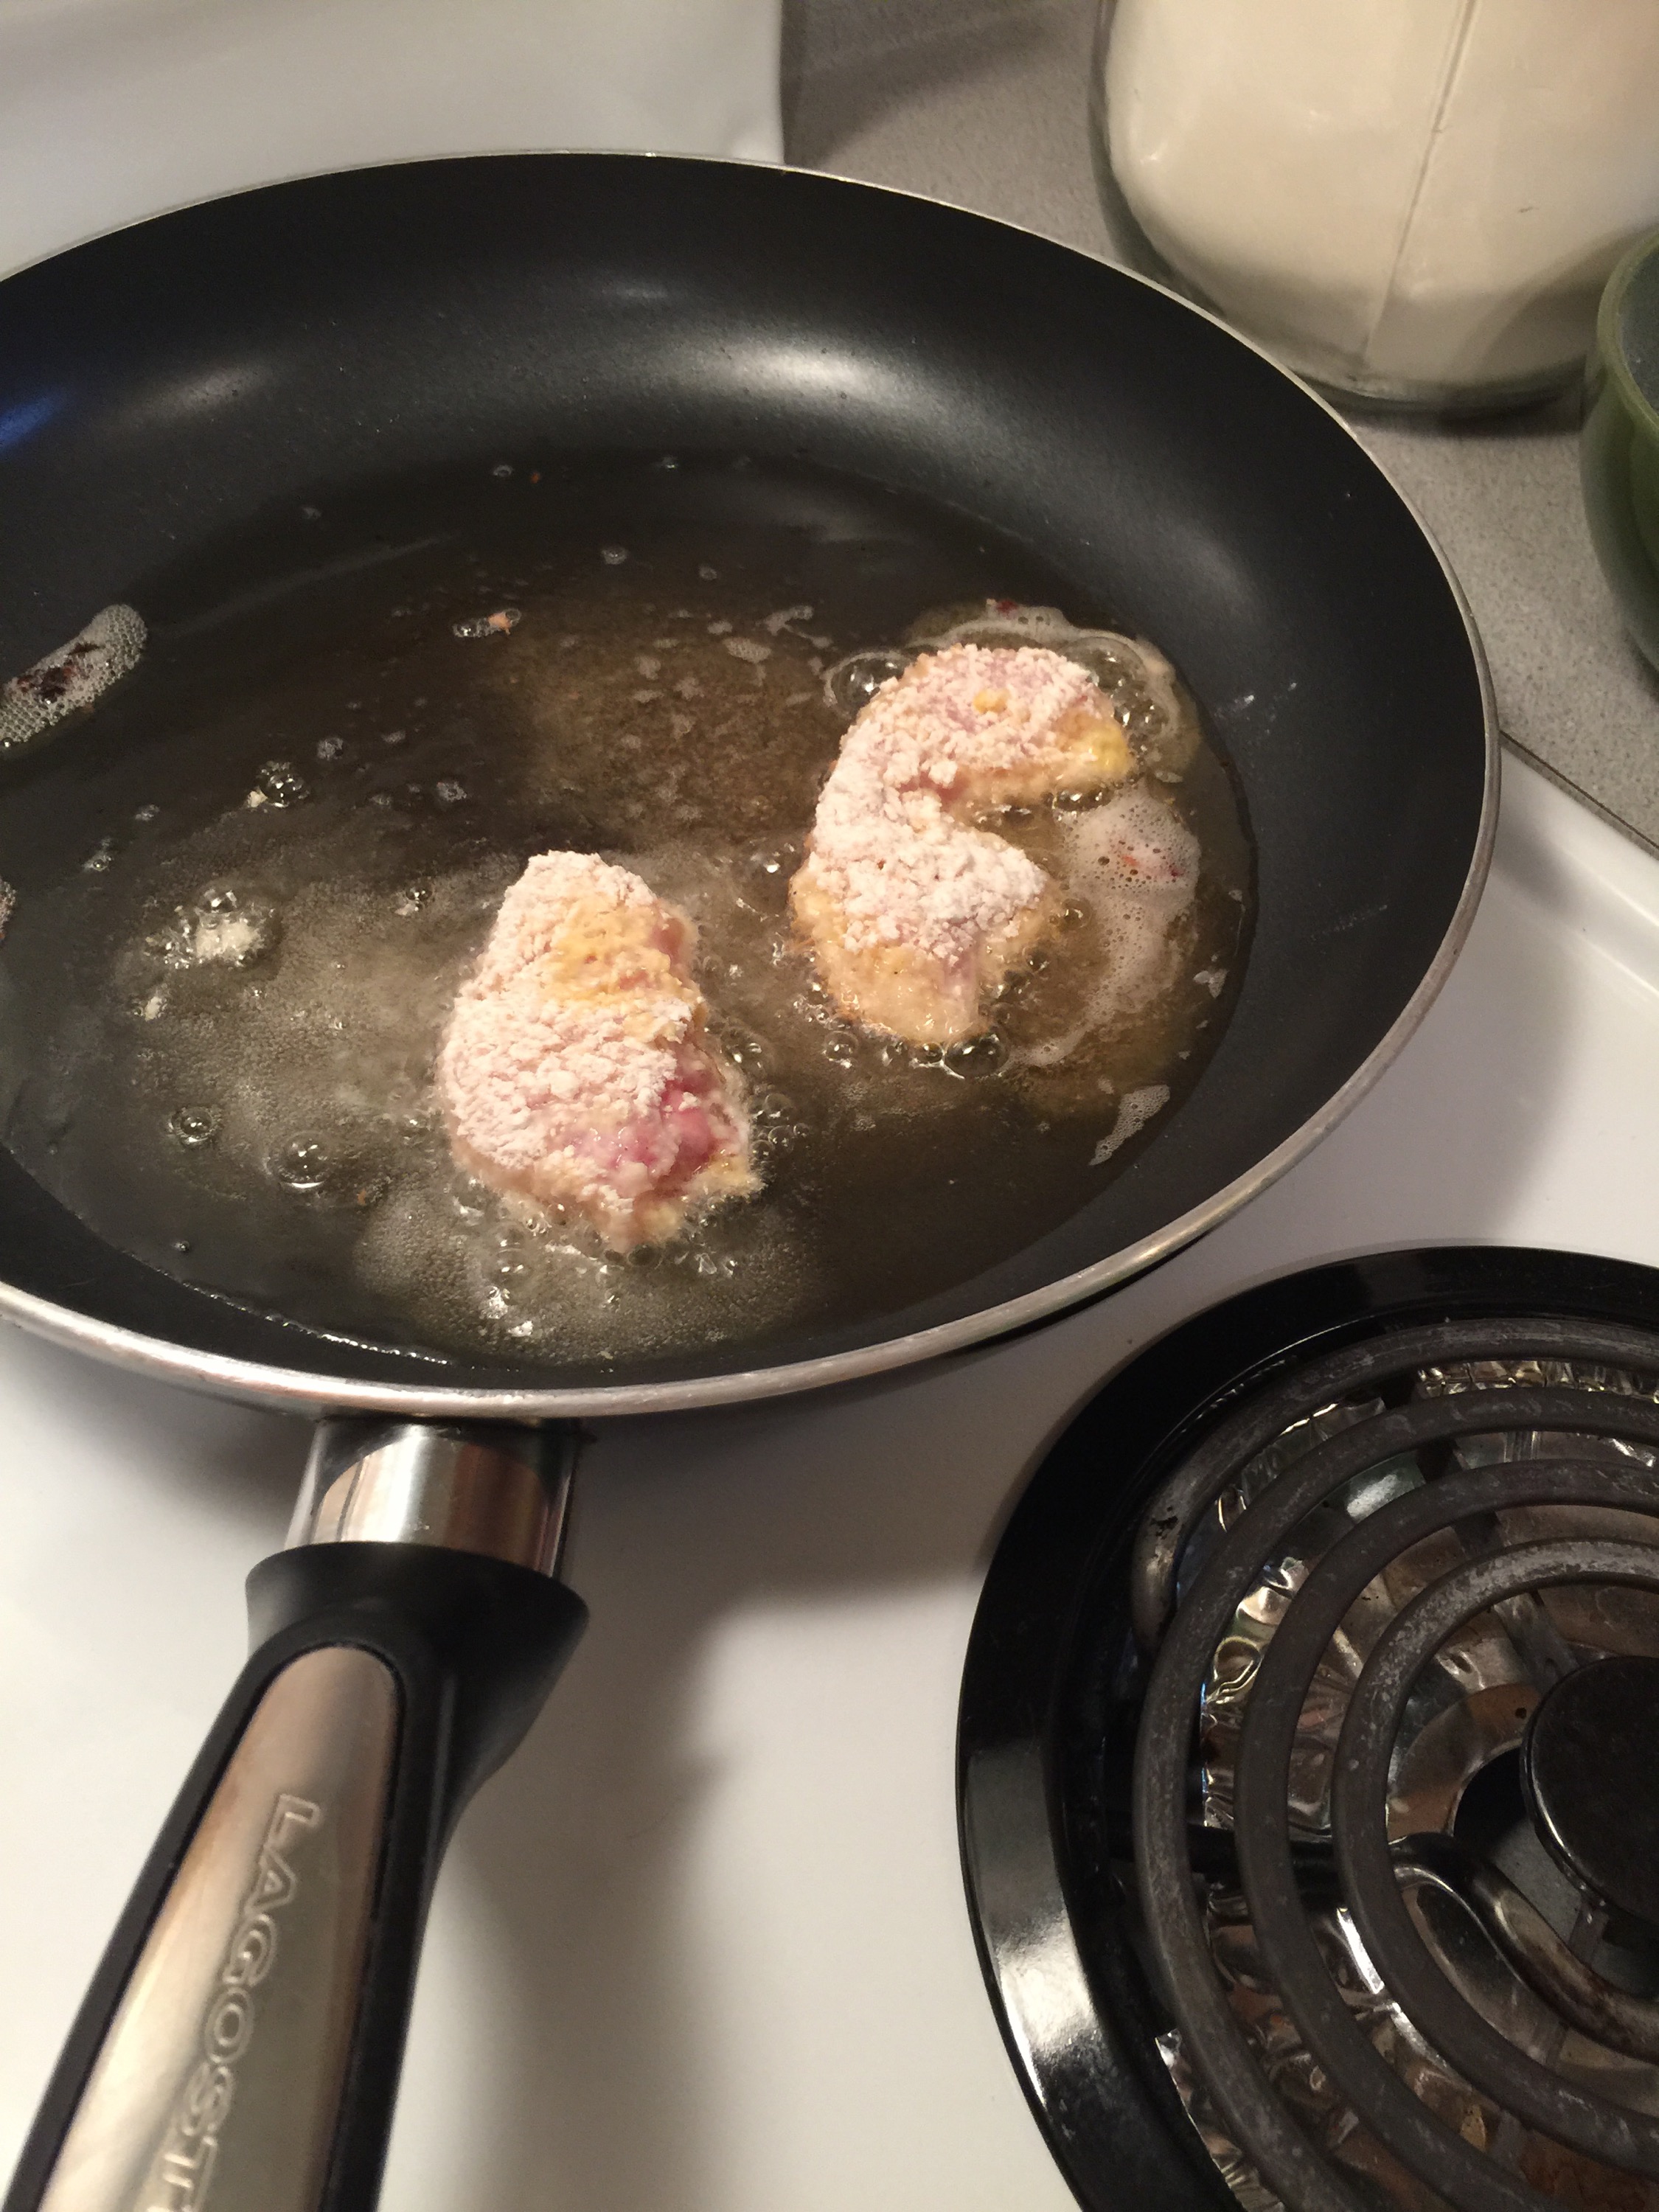
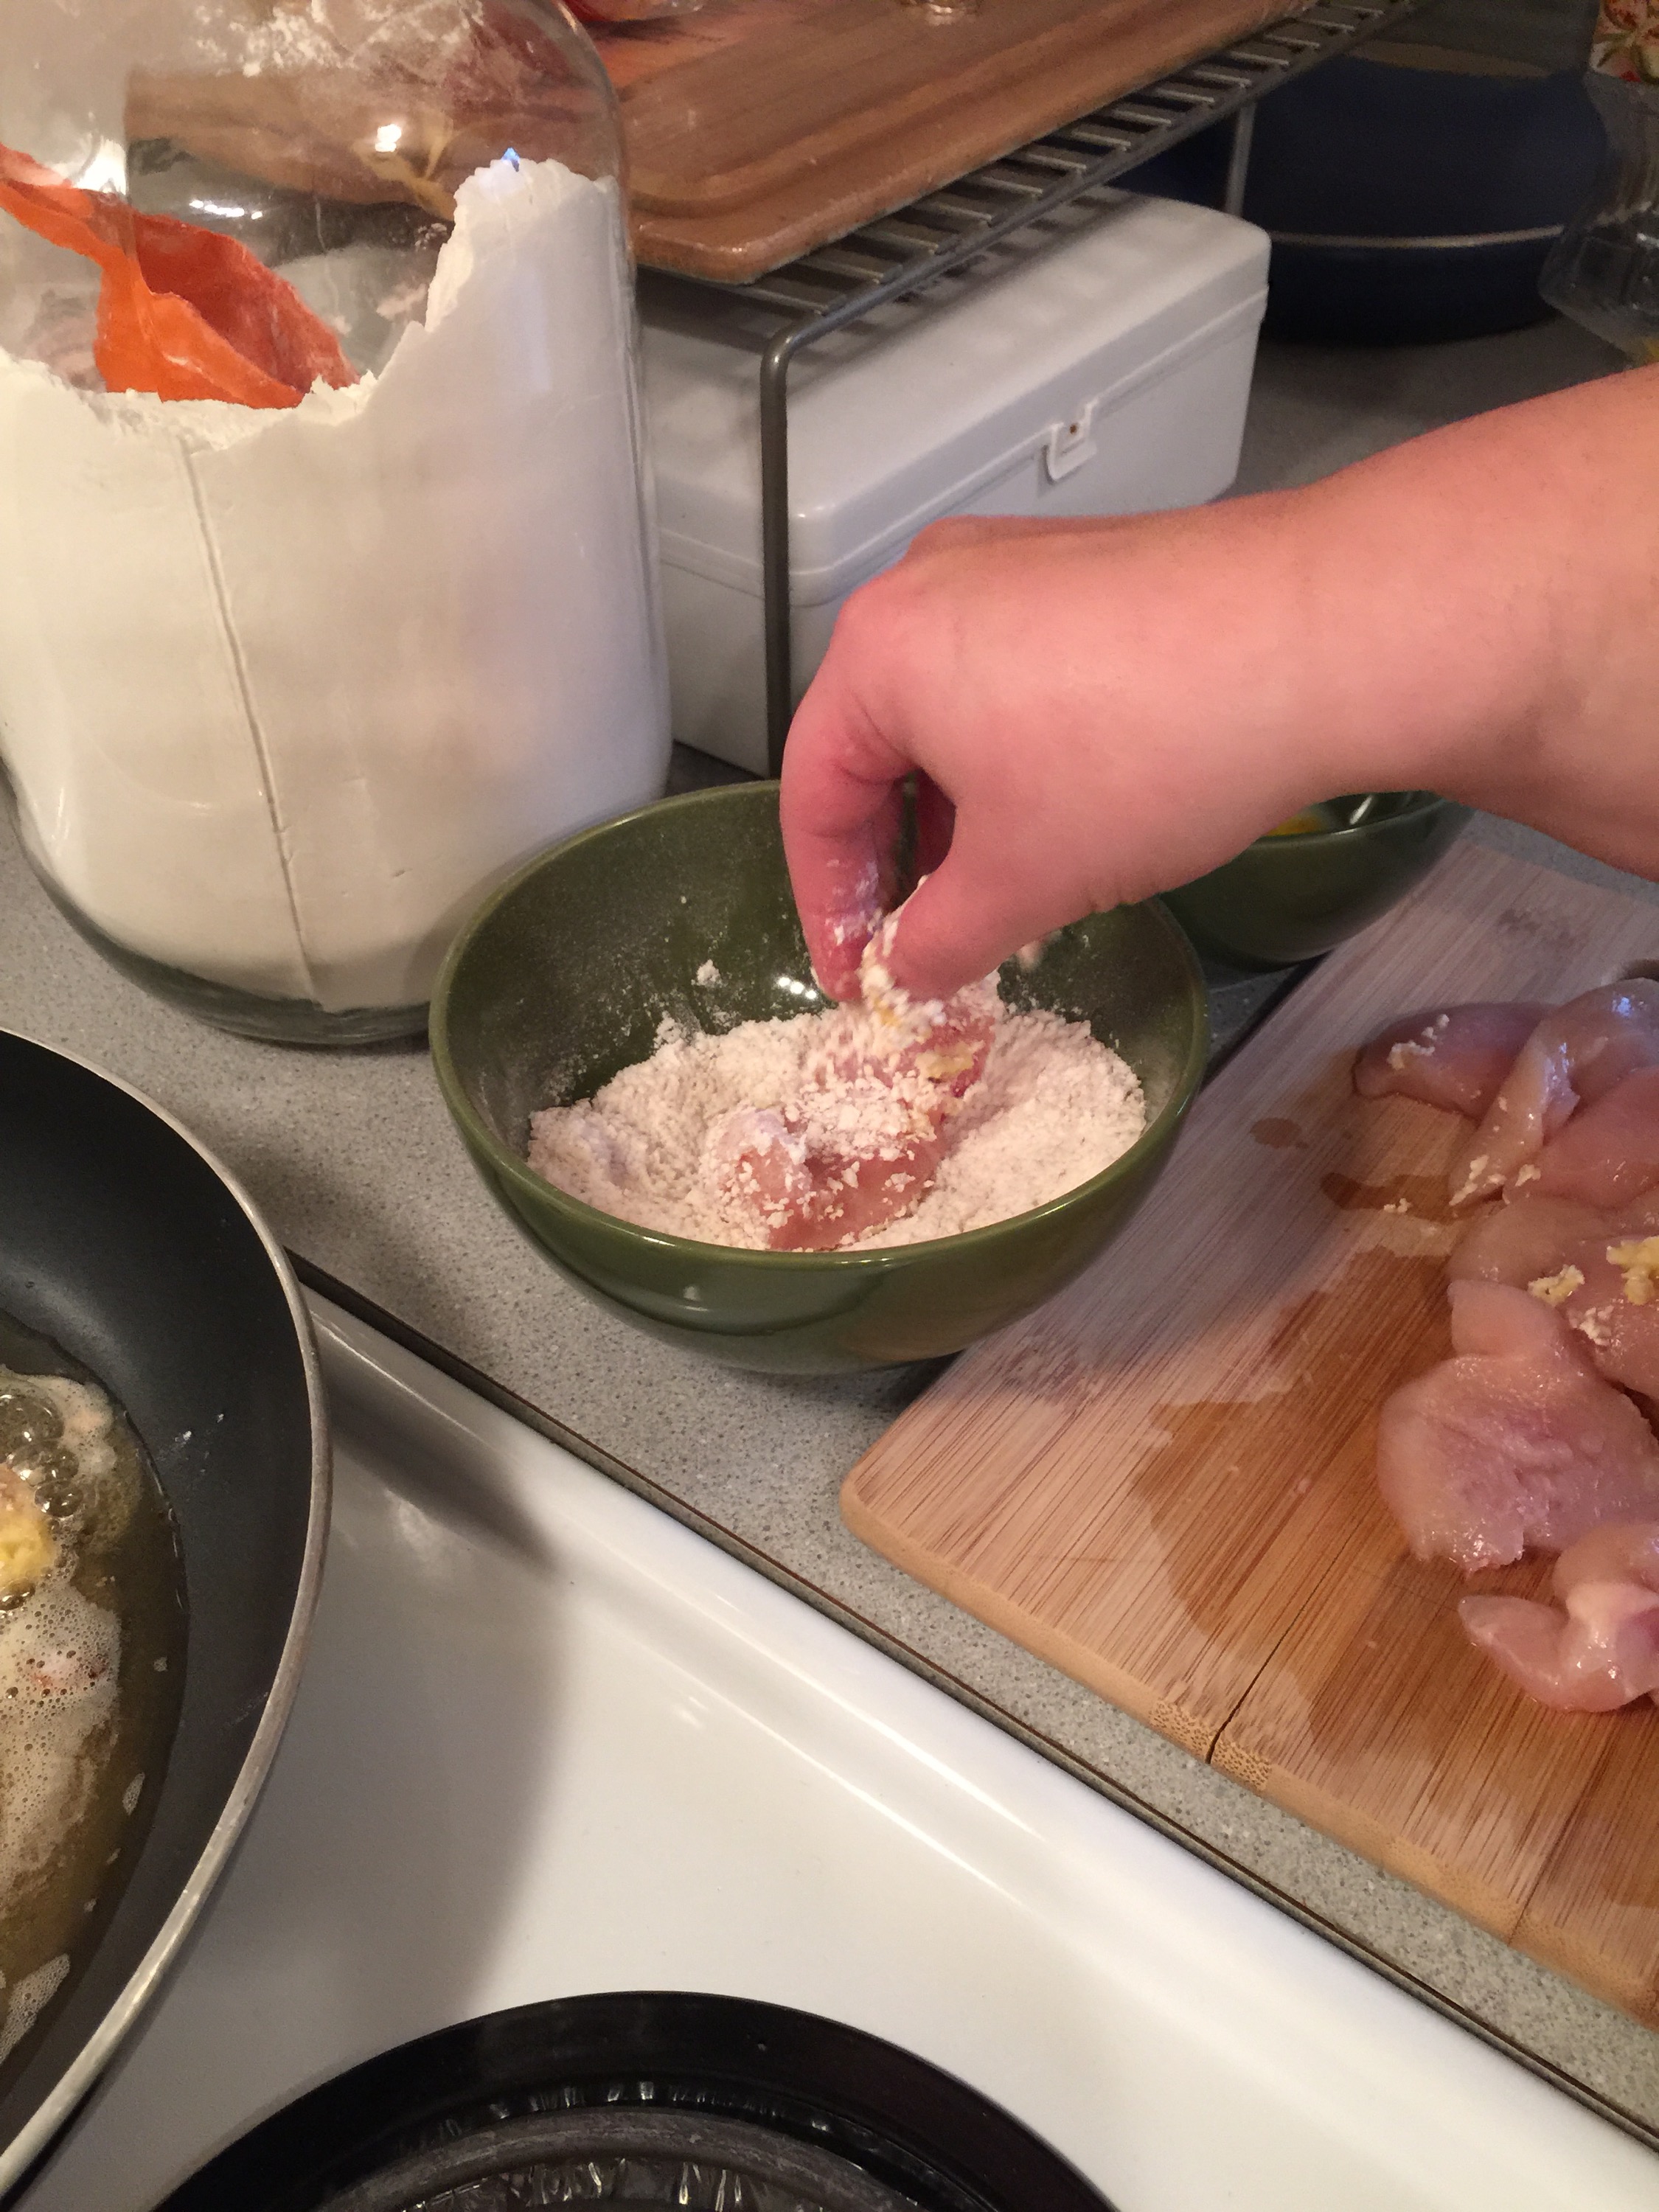
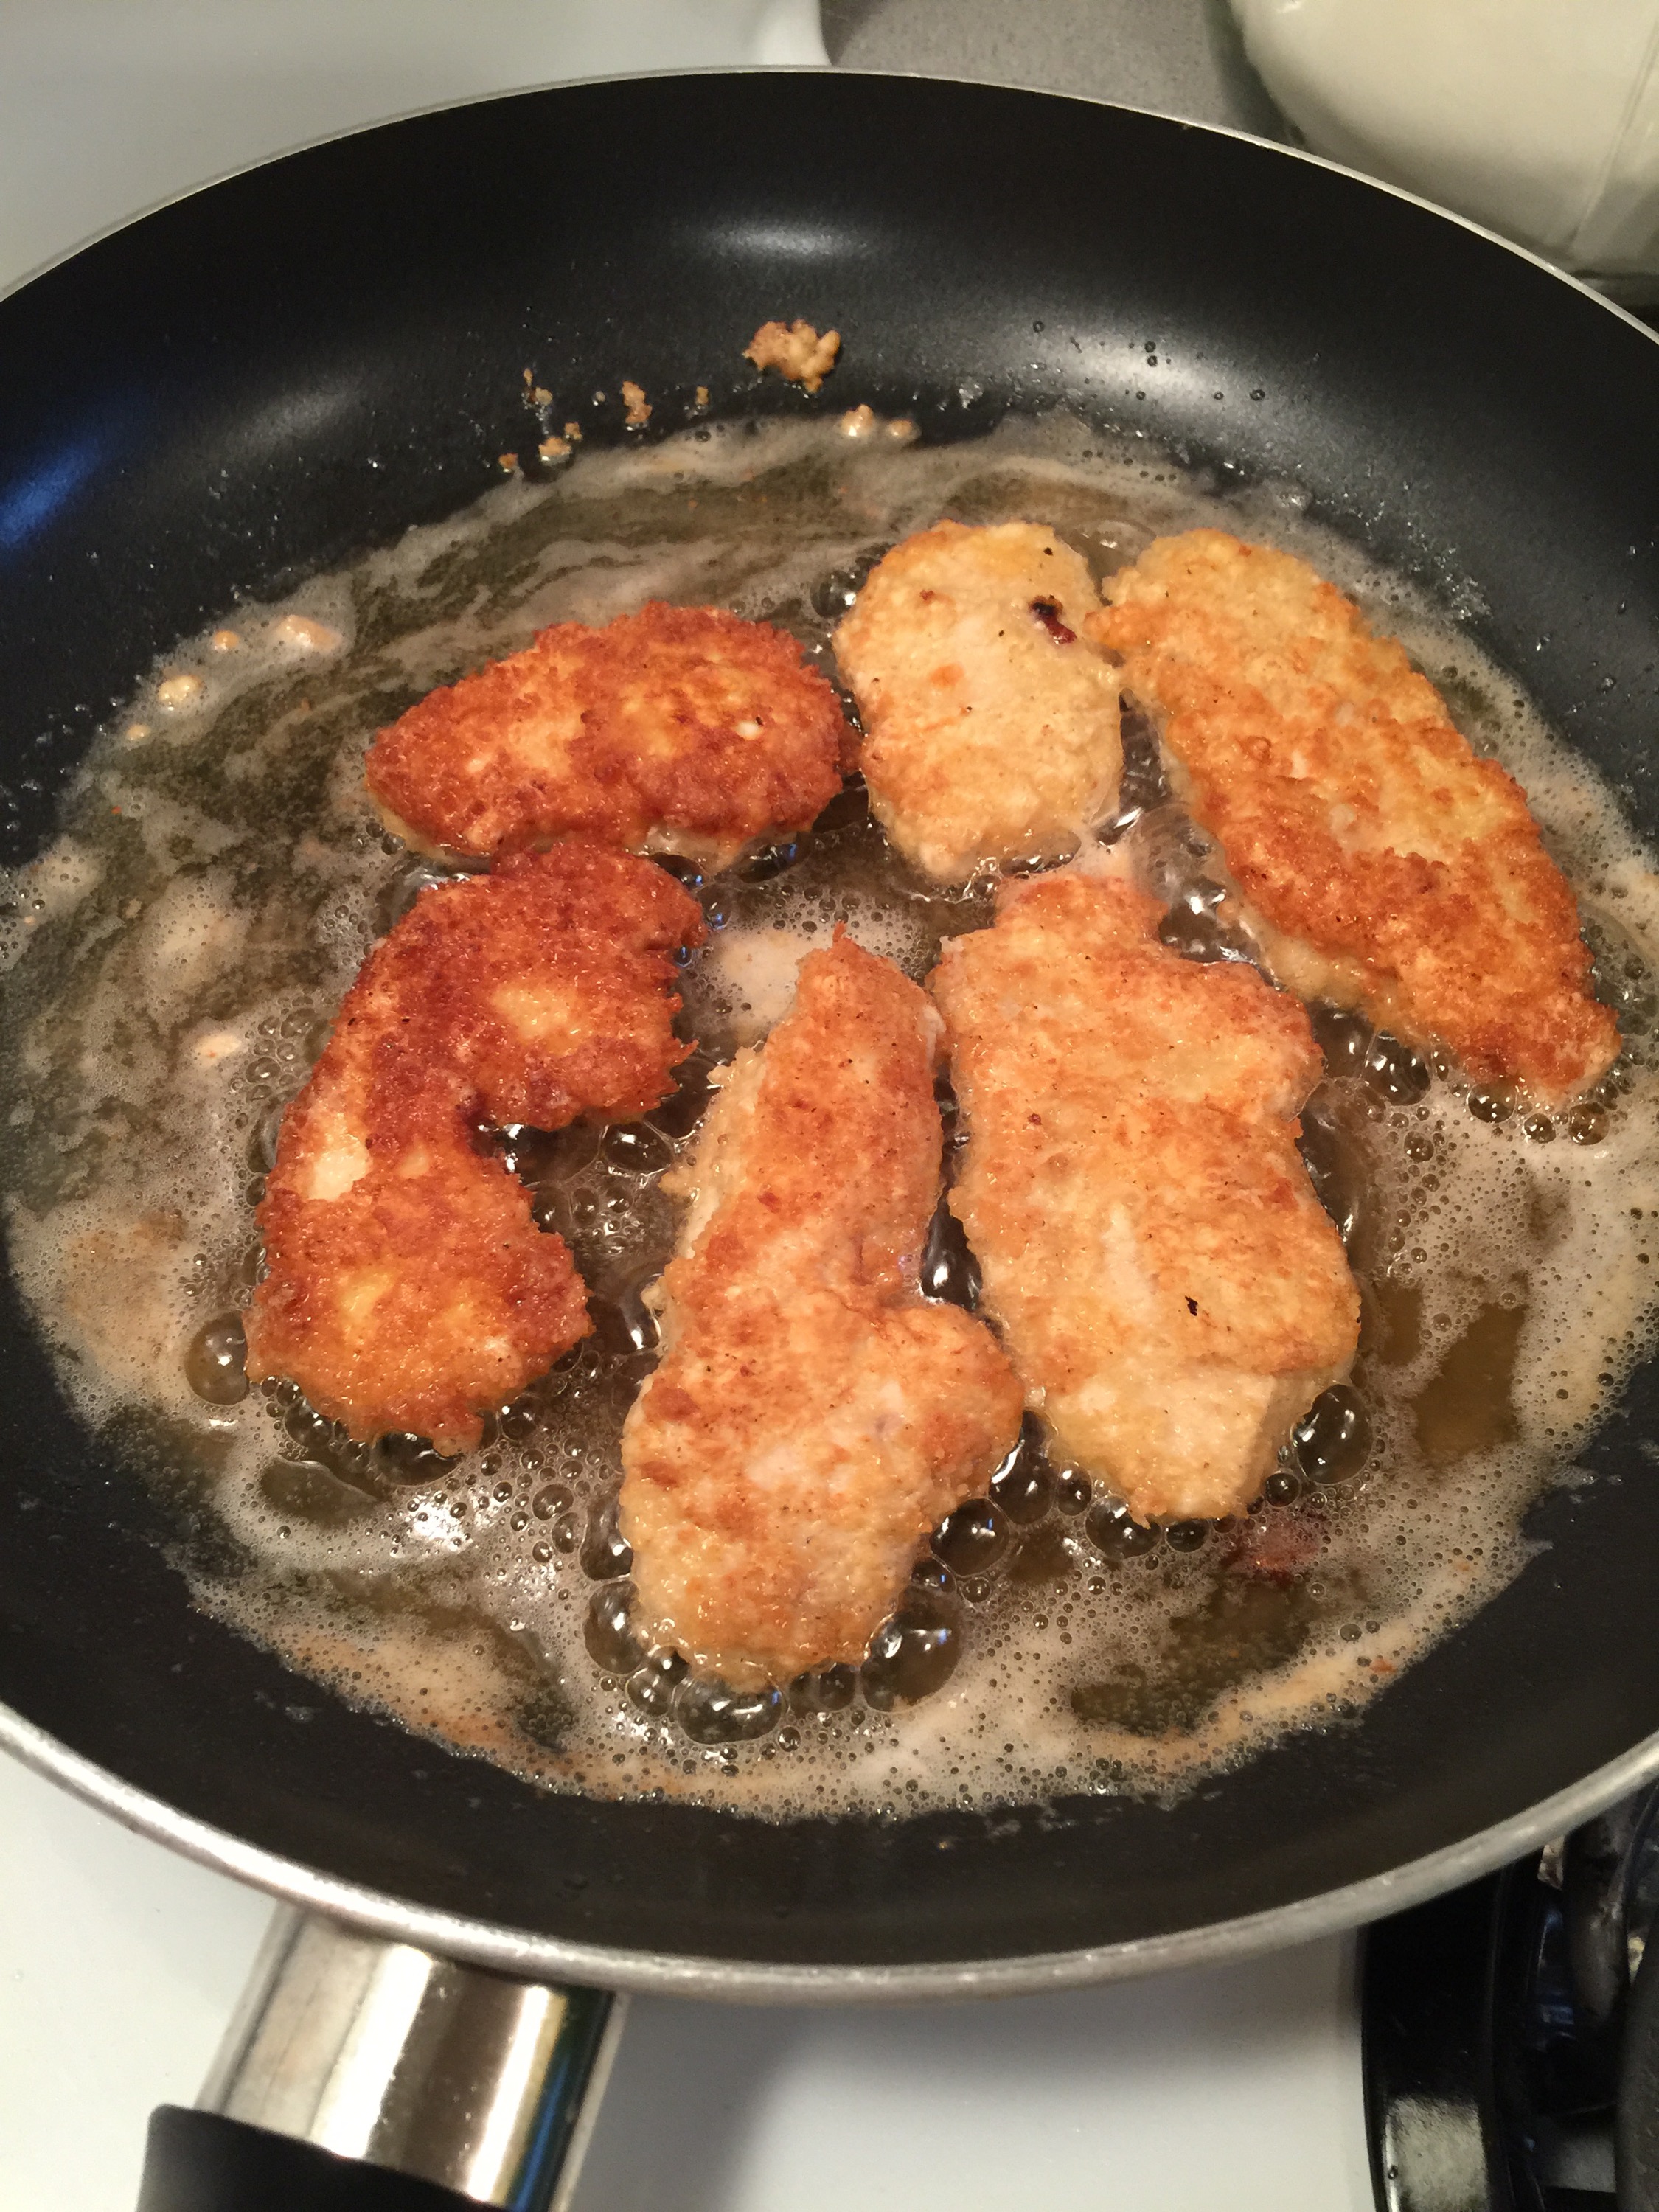
While the squash was in the oven, I started on the chicken. I thinly sliced 2 chicken breasts and cooked it in a frying pan over medium heat until mostly cooked through. I decided that I wanted to do a spicy peanut chicken for this dish. I added 2 tablespoons of peanut butter, a little bit of canola oil, about 1-2 tablespoons of sriracha (start with 1 teaspoon at a time to check the spice level for yourself), seasoning salt and pepper to taste and about 1 teaspoon of garlic powder. When it was all cooked and well coated, I took it off the heat and put it to the side. 

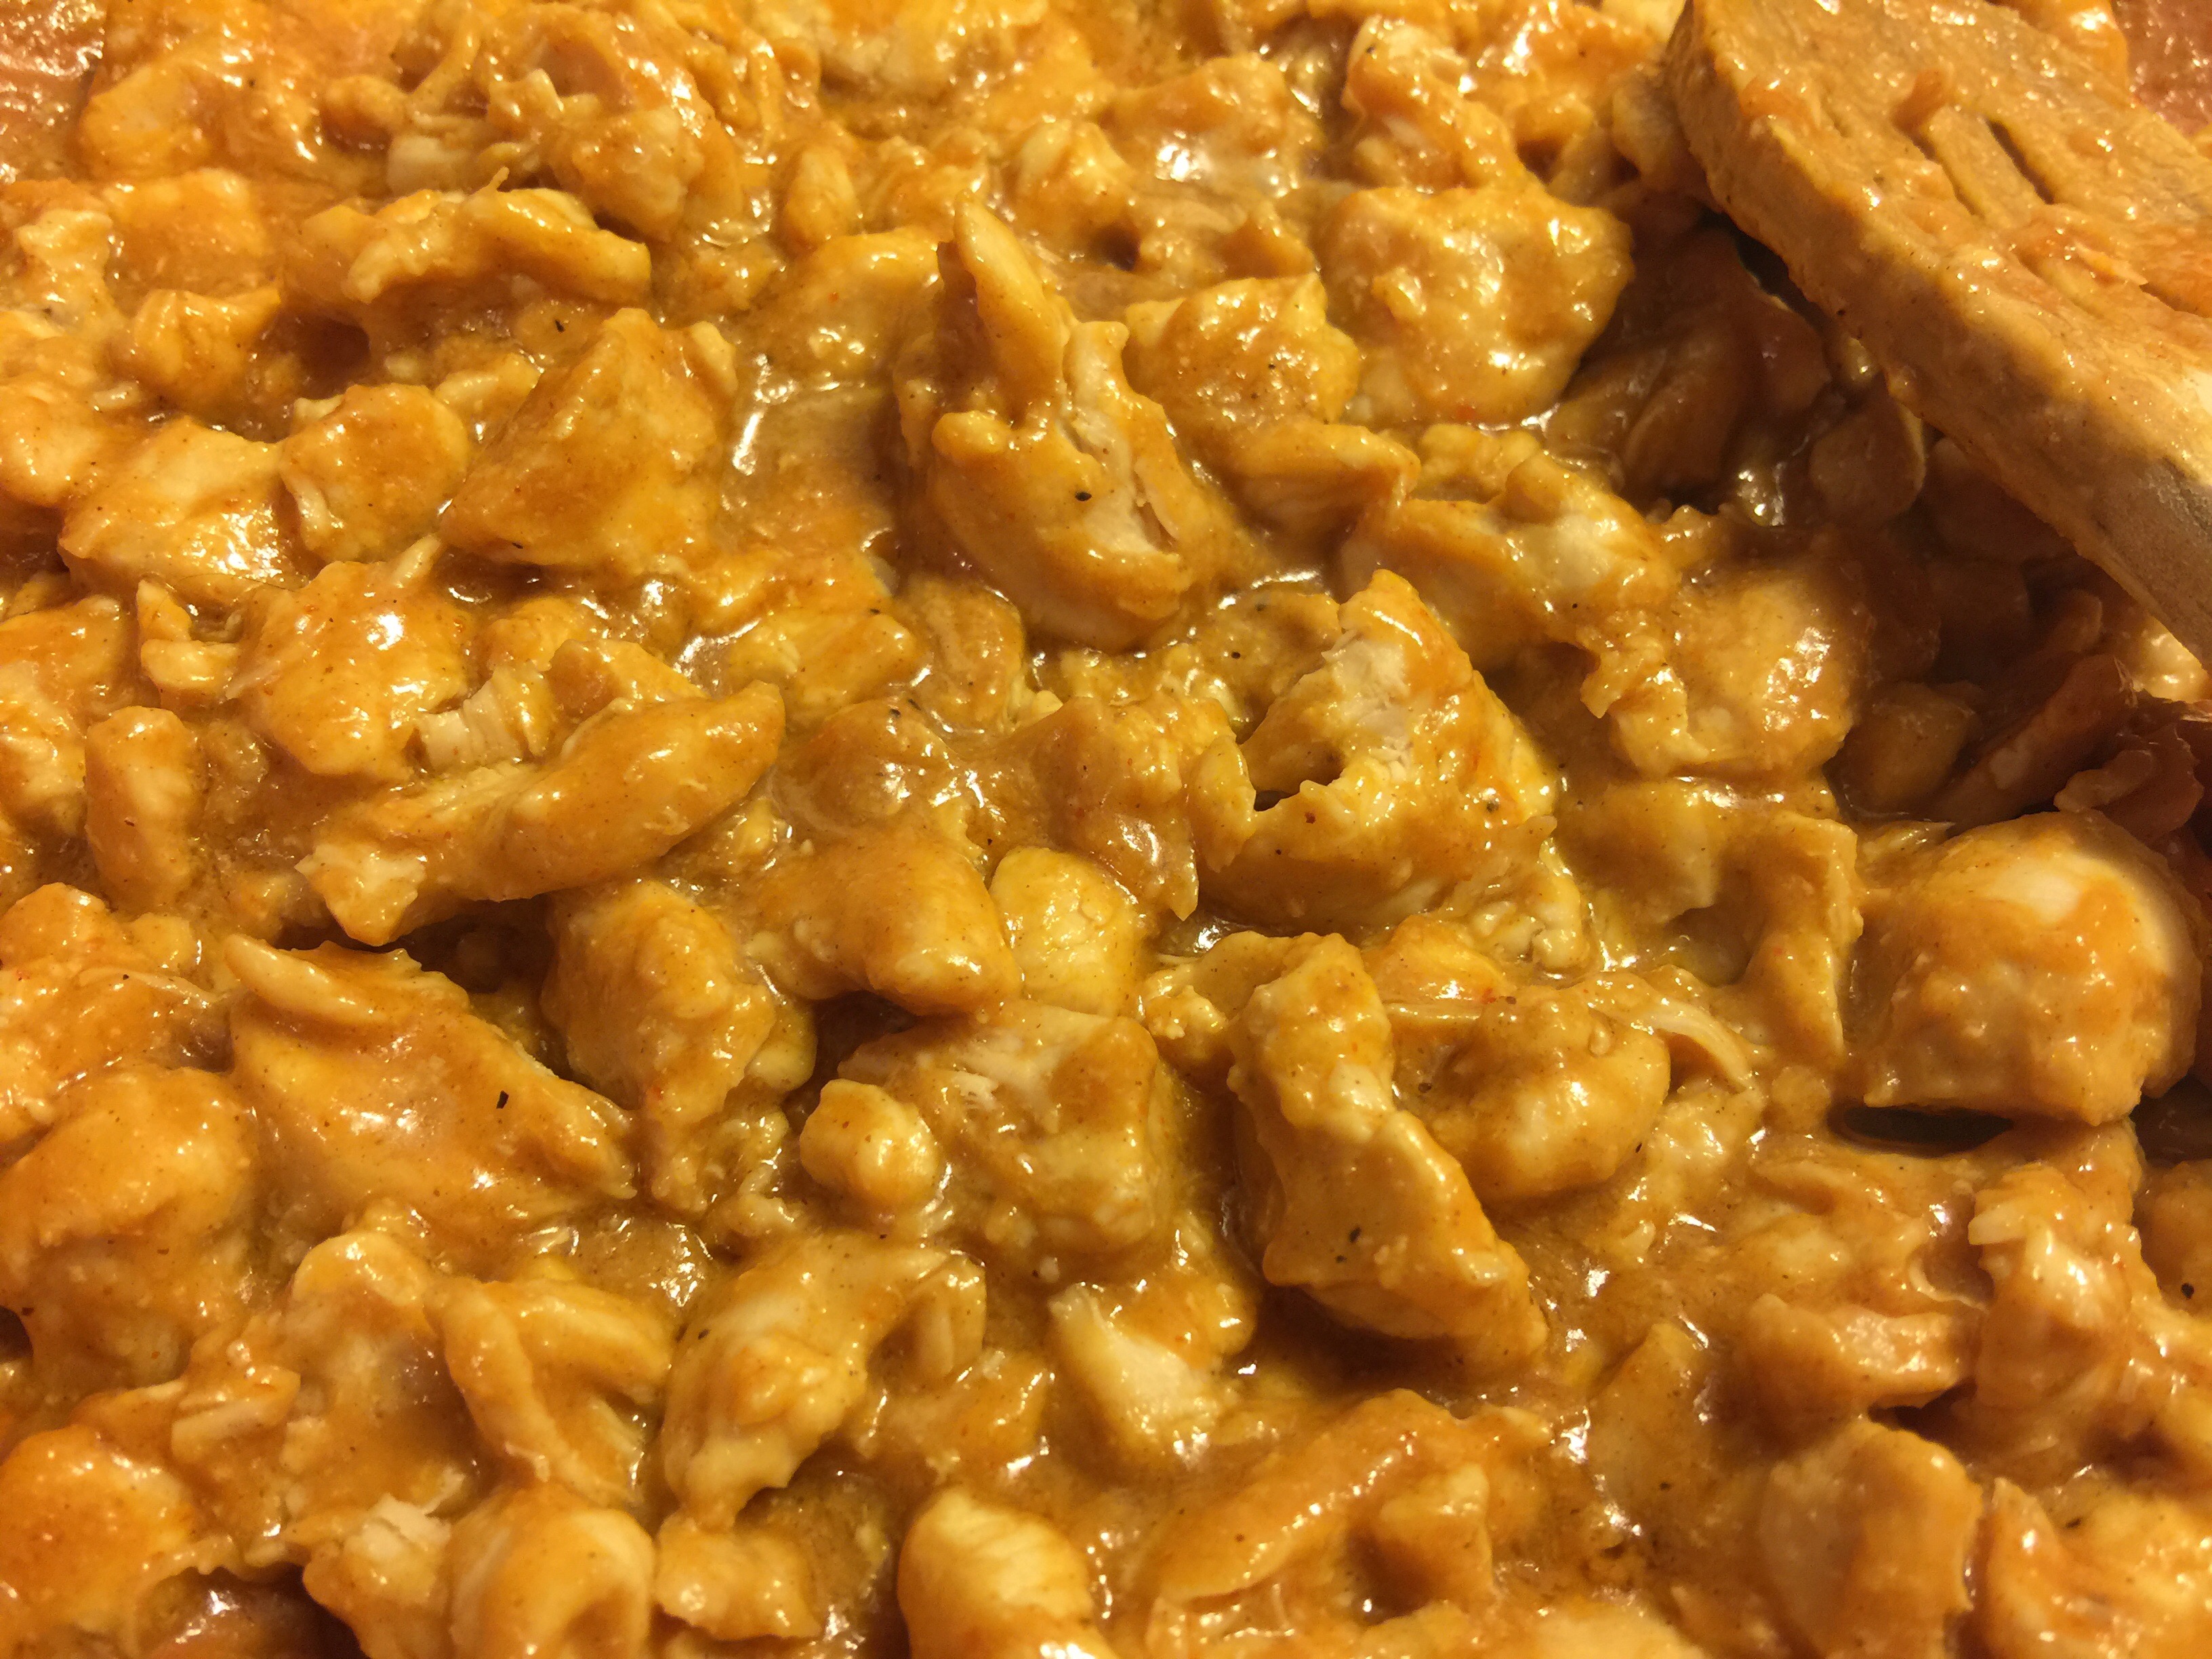
When the spaghetti squash finished, I removed it from the oven flipped them over and allowed them to cool for about 15 minutes while I started on the final product. I started by sautéing a small chopped onion over medium heat, once it softened I added about 2 1/2 cups of coleslaw mix (premixed purple cabbage, green cabbage and carrots) and allowed it to cook together while I shredded the squash with 2 forks. I used one fork to keep it still and the other to shred, it was so easy! Once I had the “noodles” out, I added them to the mix. I then mixed up a sauce of 1/3 cup soya sauce, 3 teaspoons of minced garlic, 2 teaspoons of grated ginger (Tip: Keep your ginger in the freezer so it will keep longer, I cut off the skin around the area I wanted to grate and I was able to do it from frozen which was perfect), 1 tablespoon of brown sugar and 1/4 teaspoon of ground black pepper. I added this sauce to the cabbage mix, chicken and squash and mixed until well coated. I then added the chicken in and mixed together one last time while still on the heat. I gave it 1-2 more minutes and then it was ready to serve. 

The finished product

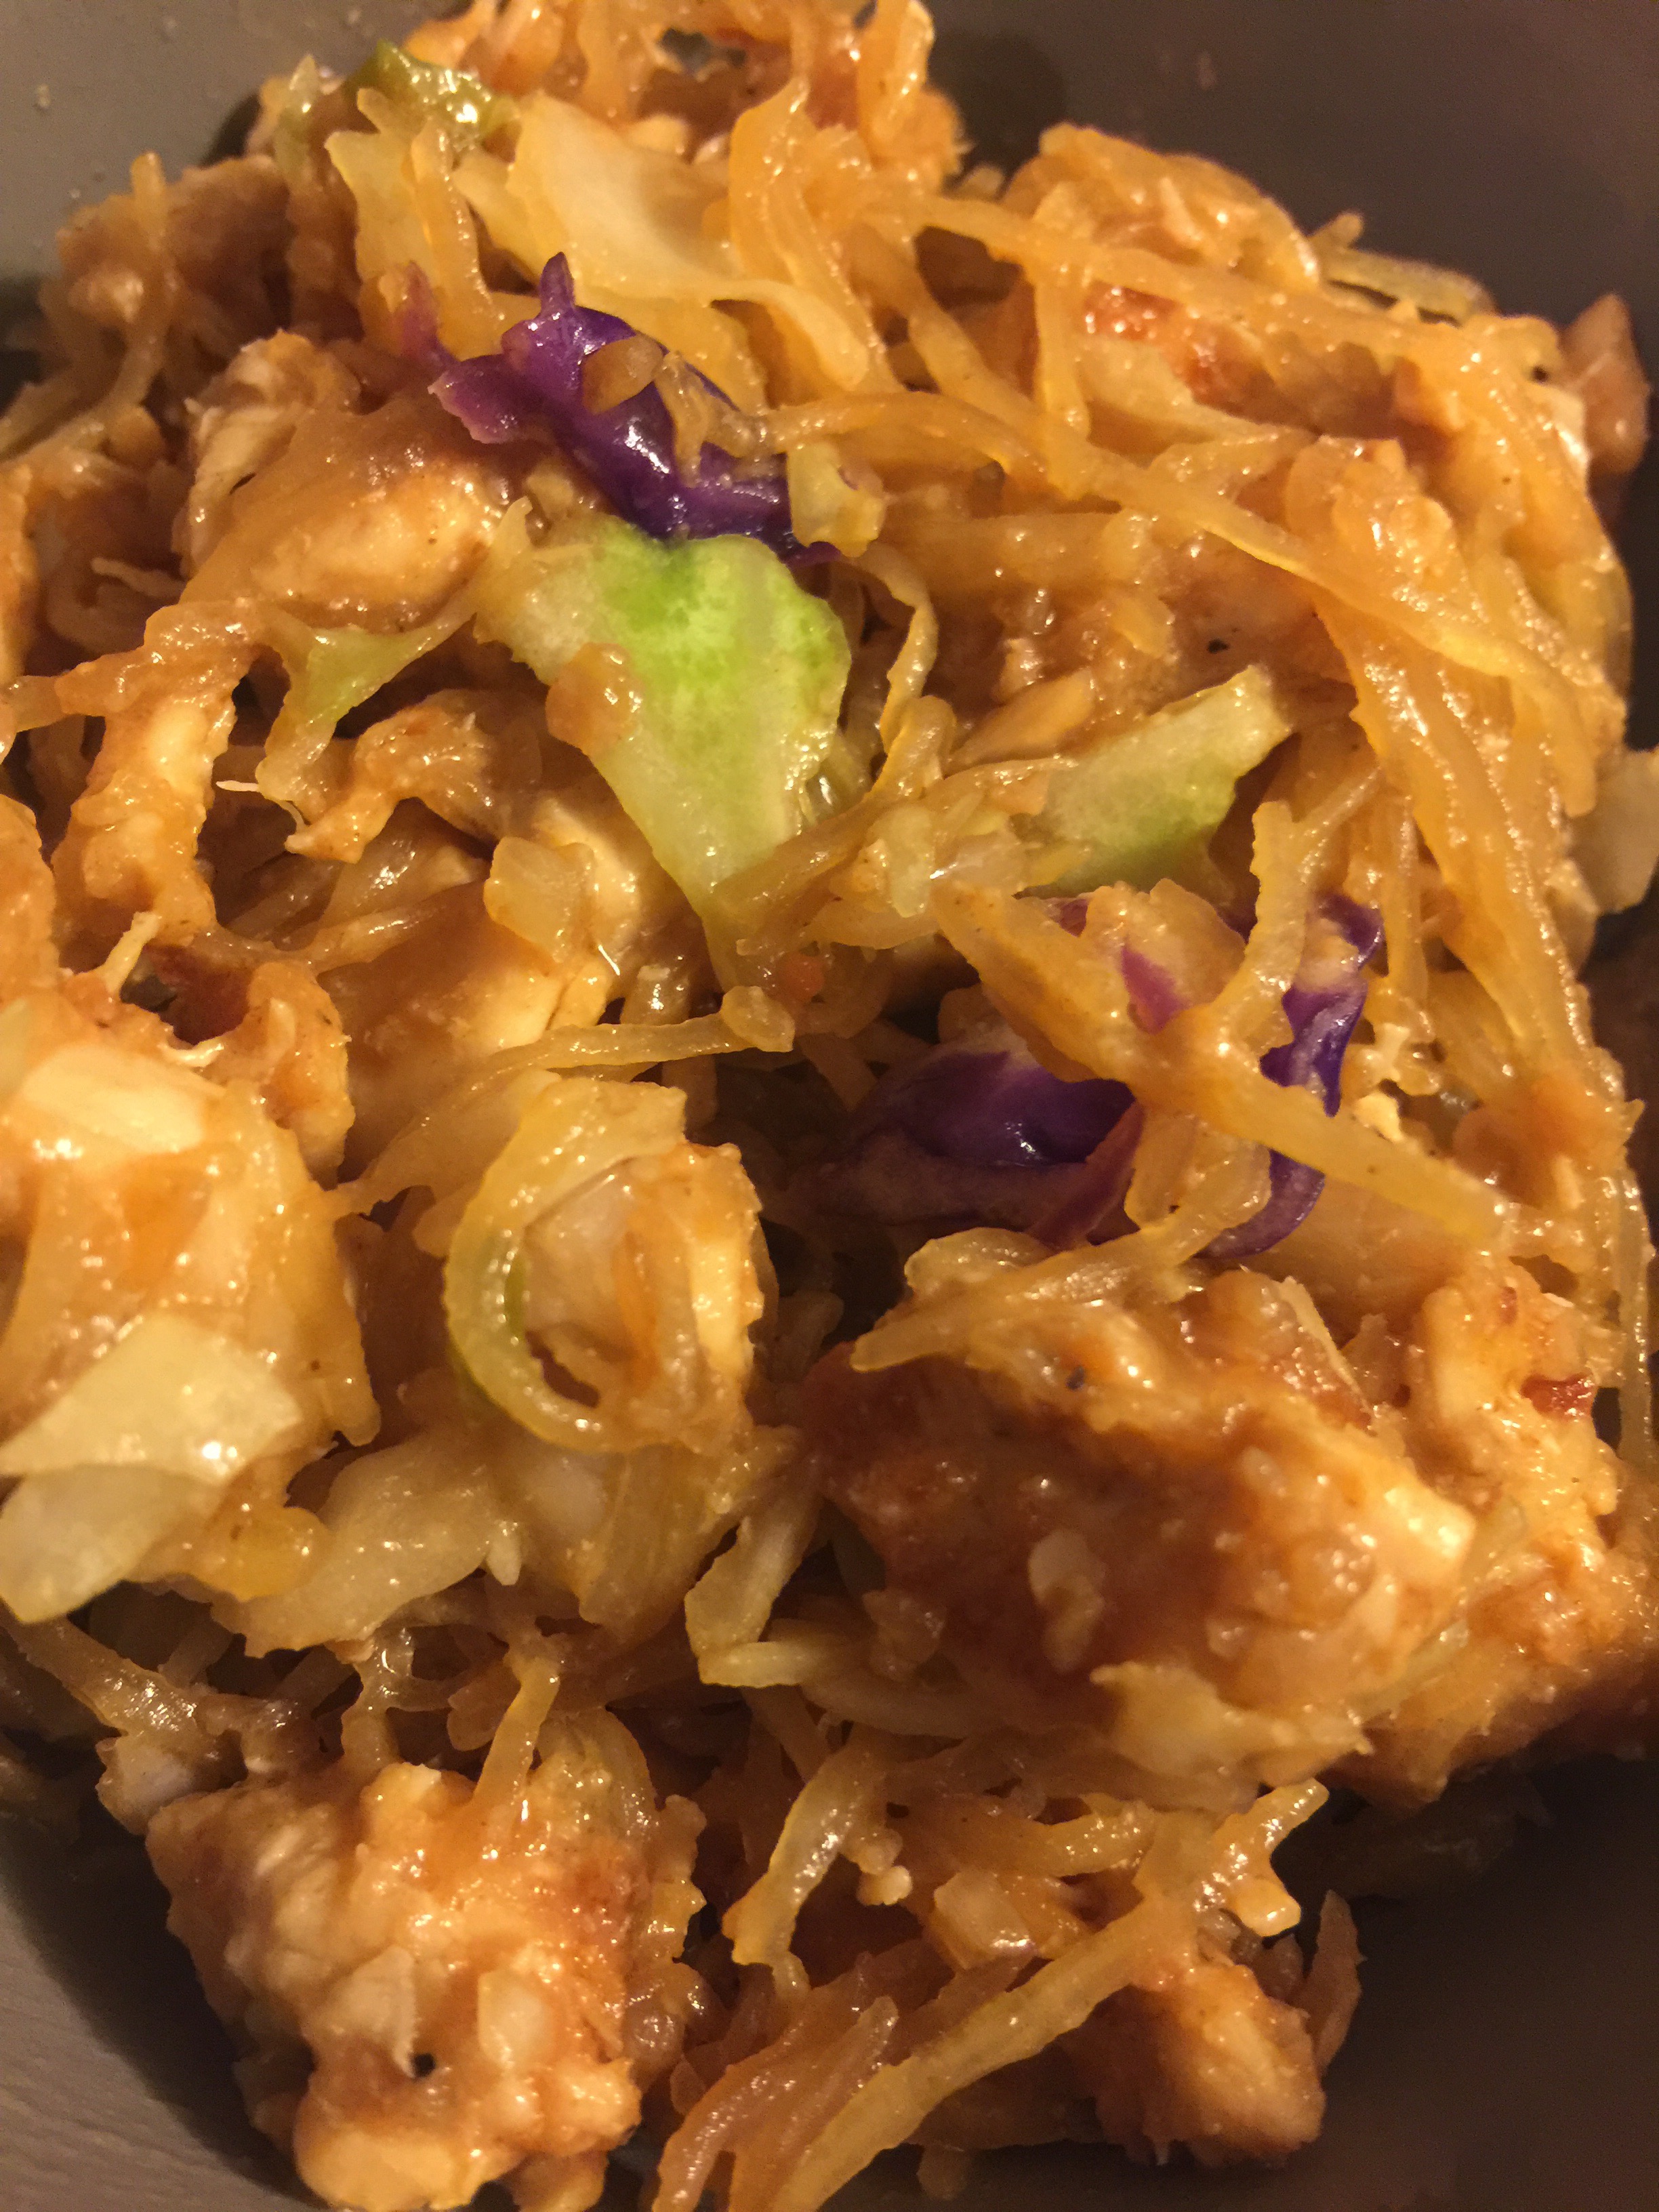
Thoughts: I am giving this 2 very enthusiastic thumbs up. It was AMAZING! You would not know that the noodles were not the real deal. It was the perfect level of spice in the chicken and it added that extra bite to each forkful. This was one of the most adventurous things I have ever made on my own and it far exceeded my expectations. Matt worked today so I kept dinner a surprise until he got home and he was so excited to try when I let him know what we were having. This is going to be a regular addition to our meal plan going forward. 

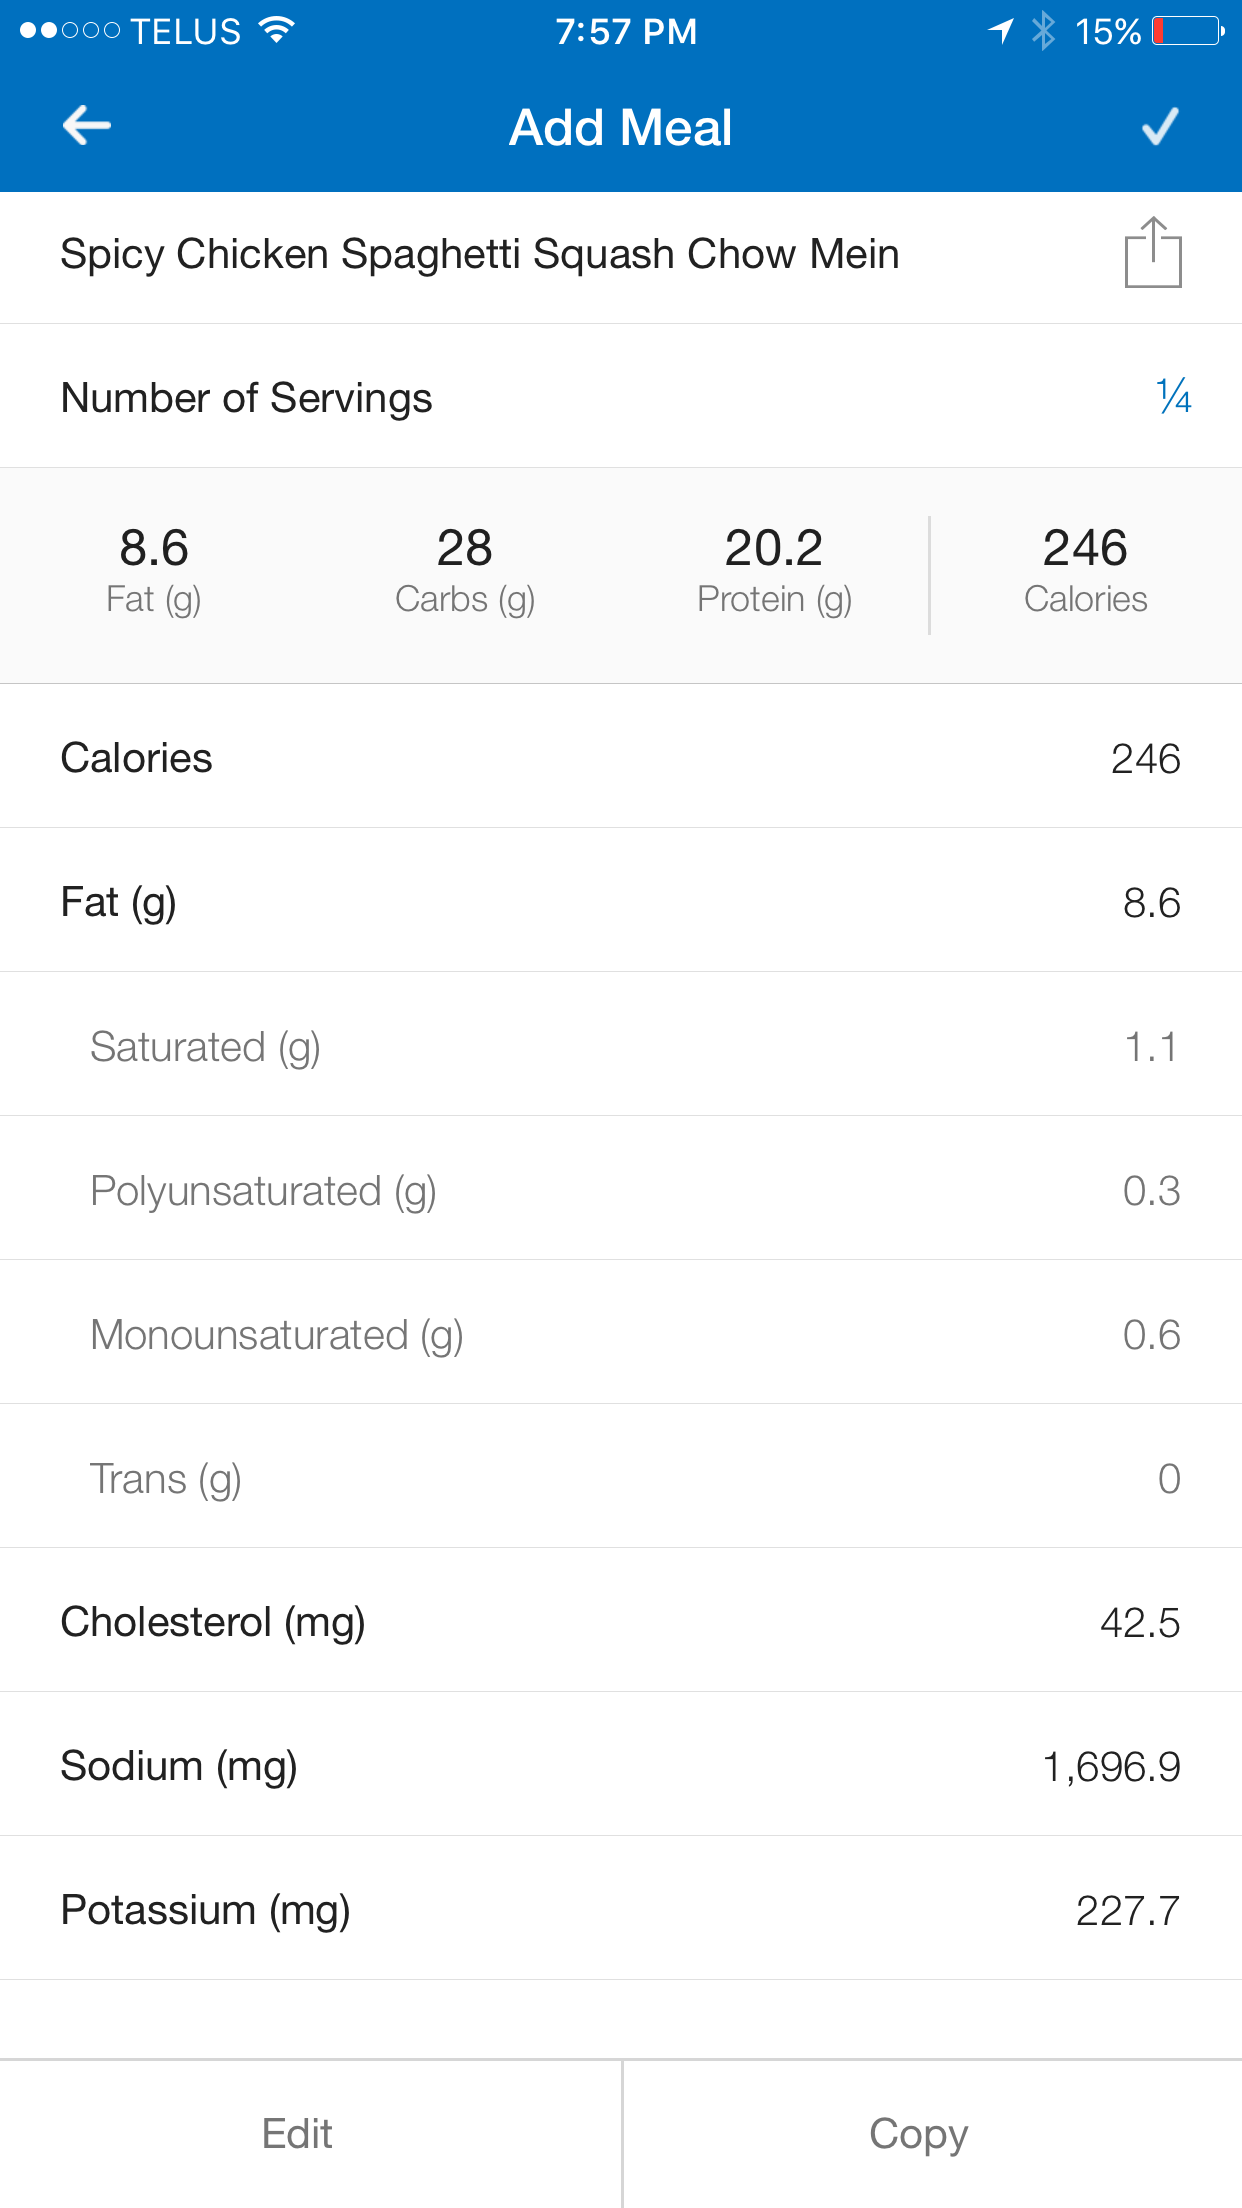
I highly recommend trying this! The best part, the calories!  This meal made about 4 servings and each serving is only 246 calories! I have added this to MyFitnessPal if you search for it, you should be able to use it and enter 1/4 serving of the whole dish (unless you eat more…I wouldn’t blame you). 

Salisbury Steak

Honestly, up until not very long ago..I had no idea what Salisbury steak even was. I knew that I had seen it on menus, I had heard people talking about it but I had never tried it or given much thought to it before. My husband loves it though, and he ordered it not long ago from a local place called Paul’s and I tried a bite and it was glorious. 

I decided that I wanted to try my hand at making it and because we were off today, it gave me the time I needed to put this dinner together. It took me about an hour altogether to prep, cook and serve but in saying that, I am a good multitasker. This would have taken my husband probably 1.5-2 hours to make 😂 but he’s a fantastic cook as well. 

I started with the ground beef. I tried to portion it out so that it would make 2 patties, but I ended up with enough to make 3-4 (and yet I still made 2..). 


I added about a cup of bread crumbs, one egg, a few dashes worchestershire sauce, some onion soup mix, Red Robin seasoning, pepper, garlic powder and parsley. Once it was mixed well, I shaped it into two “steaks” and put them into the pan to fry. 


I used a frying pan on medium heat to brown both sides and I turned down the heat to about a 4 to allow it to cook through without burning. I also could have finished these in the oven as an alternative once they were browned. 

When this was finished, I made mashed potatoes. I always mash butter and cream into my potatoes. Just enough to make them creamy, but not enough for them to be wet. I then seasoned the mashed potatoes with Red Robin seasoning and pepper to taste. 

I then took the hamburger steaks out of the pan to rest while I used the same pan to make gravy. I just used a packaged gravy for this, 2 packs so that there was enough to drown both plates in. I started out the gravy with a small chopped onion, and cooked it down until it was soft. Then I added 2 2/3 cups of water, and 2 packs of brown gravy mix and simmered to a boil and I continued to whisk while it simmered until it got to the desired thickness I wanted.  Once the gravy was how I wanted it, I added the hamburger steaks into the gravy to cook on low for 10 minutes to soak in some of the goodness. 

I plated by placing a thin layer of mashed potatoes on the plate, with the Salisbury steak on top then I dished on extra gravy and served it with a side of corn. 

My husband didn’t speak almost the entire time he was eating, he just kept making faces at me and once in a while he would get out the words “so good”, so to me..that means this was a home run. 

Final thoughts: 

This was my first time making it, so I know now that I should use much less ground beef next time and I will be a little more generous with the spices because we LOVE flavour in this house. This is also a recipe that required a lot of time, multitasking and created a lot of dirty dishes so it likely won’t be in my regular rotation, but I’ll definitely make it in a few times a year. 

My husband got me a Pioneer Woman (Ree Drummond) cookbook for Christmas and I love her, so I may be back soon with a recipe from her! 

One Pot Meal

Last night I saw one of those Tasty-esque videos about how to make goulash, and it reminded me of a soup from a truck stop back home in Ontario, so I took that idea and I modified it into a cheeseburger tomato mac soup. 

I think this is the first true one pot meal that I have ever made and it was glorious, cleanup is such a breeze! 

  1. I started by browning hamburger with a small chopped opinion and some (a lot) of minced garlic on 5.5 on the stovetop in a large soup pot. On a personal note, I finally broke down and just bought a large container of minced garlic because mine was always drying out before I would get to it and that was usually because I didn’t want to peel and chop it :/ problem solved. 
  2. Once the onions had sweat down and the hamburger was all browned, I added about 5 cups of chicken broth. 
  3. Next I added a can of pasta sauce. 
  4. I stirred everything together and added garlic powder, onion powder, Mrs. Dash, parsley flakes, seasoning salt and pepper to taste. 
  5. I brought the pot to a simmer and added 3-4 cups of macaroni right into the pot. 
  6. I stirred every few minutes to see how it was thickening up and once the macaroni was fully cooked, I added 1.5 cups of a shredded mozzarella-cheddar blend and stirred into the mixture. 

The finished product, tada.

I made mine super thick, so of course if you would like it thinner you could: add another can of pasta sauce, add more water to the pot, add less pasta. Whatever suits you best! 

This dinner made for one happy husband, a happy me and some lucky friends who get to partake in some leftovers for lunch, oh yeah..and dinner tomorrow night for us too (and that’s saying something because I usually don’t like to eat the same thing two nights in a row). So good! 

2015 in review

I would say this is pretty good for my first year blogging! Thank you so much to all of my followers, Facebook friends and family for checking out my blog and stay tuned for more to come!

The WordPress.com stats helper monkeys prepared a 2015 annual report for this blog.

Here’s an excerpt:

A San Francisco cable car holds 60 people. This blog was viewed about 1,600 times in 2015. If it were a cable car, it would take about 27 trips to carry that many people.

Click here to see the complete report.

Turkey Repurposing: Turkey Poutine

So…Christmas is over and although we did not host dinner this year, luckily we were sent home with lots of leftovers.  It was 1:30 am and we were still up and we were starving.  I told Matt I could make homemade fries and we could make a turkey poutine, of course he was game! We love homemade fries so much, we have a dedicated pot with oil in it at all times just in case the mood strikes.

I put the pot of oil on the stove on high, after about 5 minutes I dropped one of the fries I had cut into the pot and when it started bubbling instantly I knew it was good to go!  I cut up 6 small potatoes and it was the perfect amount of fries for our 2 poutines.  I stirred the fries a couple of times, and after about 10-12 minutes the fries were done!  They were cooked perfectly with a soft inside and crispy skin on the outside.  I use newspaper to dump the fries on to absorb the excess oil, and I shook some Red Robin seasoning on them, wrapped them up and turned them over to get the most grease out possible.

Unfortunately, we didn’t have any turkey gravy and I was not willing to try at that ungodly hour so we used 2 packs of gravy from the pantry.  When the gravy was finished, I tore up turkey into bite sized pieces and stirred it into the gravy and we let that sit for a few minutes while Matt shredded a blend of mozza and cheddar cheeses, I sure wish I was in Ontario with the ability to get some REAL curd, THAT would have been amazing!

We separated the fries onto 2 plates, covered them in cheese and then covered them in the turkey meat gravy and it was absolutely fantastic.

I hope you all had a wonderful Christmas/insert any holiday here you may be celebrating!

Chicken Pot Pie 

I was able to stick to the new routine this week and managed to get one thing made and in the freezer for lunches.  I decided to make individual chicken pot pies! I have loved chicken pot pie since I had my first Stouffers frozen one!  I have tried a couple of other frozen ones that I really didn’t like so I thought I’d like to give my own a try!

Most recipes I found were for a full pie, but since I wanted to freeze and have these ready for easy lunches I decided to try to make my own individual ones in a muffin tin and it worked out great!

First I started by cutting up 3 medium sized chicken breasts, and cooking them with some pepper and seasoning salt for taste, then allowing them to cool and cut them up even smaller. We wanted chunks of chicken instead of shredded, but not so big they would overtake the bite. This created about 2 1/2 cups of chicken that I set to the side. Next I turned the oven on to 425 and put 1/3 of a cup of butter into a deep pan on a medium heat to melt. I then added one small onion, chopped up into medium pieces and let that cook down until the onions were getting soft. Then I added 1/3 of a cup of flour, 1/4 teaspoon of pepper and 1/2 teaspoon of salt and stirred it all together. It made a very thick paste like consistency. I added 2 cups of chicken broth and 1/2 cup of milk into the mixture and allowed it to all come together into a thickened mixture. Once it was pretty thick, I added the chicken and 2 cups of frozen peas and carrots. I turned this down to a low heat and allowed the veggies to cook in the sauce while stirring occasionally.

I then rolled out a Pillsbury pizza dough onto the table (you can also use pie crust!) and I started out by using a cookie cutter to cut circles of dough out, my initial plan was to cut out tops and bottoms individually but I got sick of that pretty quickly, it’s already a tedious little job to do these individually haha. I then started just cutting the sheet into squares and filling them with the pot pie filling on the stove and then folding the dough on top of each other to make one continuous pie instead of a top and bottom which could separate and spill out while baking. I did this, I used 2 cans of the pizza dough and it made about 19-20 of the muffin sized pot pies.


We found these to be a great size and figure 2 will make a great lunch. They are even small enough that you are basically able to just eat them with your hands!  The filling tastes amazing and it’s a nice change from the usual. I probably won’t make them in the individual size very often due to the amount of time and energy that went into them, but I will gladly make a full size pie one day. Delicious!

Loaded Baked Potato Soup

When the seasons change and we start to feel a chill in the air, I always feel myself gravitating towards soup and chili when I am thinking of something to make.  As long as the soup has enough sustenance to it, it can make an awesome meal on it’s own!  I made a big pot of turkey soup after Thanksgiving, but it’s not quite thick enough for me to feel completely satisfied when I have it as a meal unless I use about 3/4 of a sleeve of crackers in it (yes, I am one of those people!).

I made the decision last week that I will start cooking at least 2 things in bulk on weekends that we can separate into lunches and put into the freezer.  It really helps with ensuring we have a good lunch to take to work, and saves a ton of money since I would easily spend $10 a day on lunch if I didn’t bring lunch with me to work.  By doing this weekly, we are sure to never run out of lunches, and also to keep a good variety on hand instead of eating the same 1 or 2 things daily!

This week, I chose to make a Loaded Baked Potato soup and my Macaroni Cheese Bake.  After dinner, we were able to still pack up 7 containers of soup, and 12 containers of pasta.

The Loaded Baked Potato soup was amazing!  Matt chose for us to have that for dinner out of the 2 because it smelled so good and we of course were doing a little taste testing along the way.

I found the recipe on the Betty Crocker website.  Of course, I tweaked it a little bit because you just have to sometimes to gear it towards your own taste buds etc.  Matt and I love our food to have tons of flavour, but we do know some people who would rather eat things more plain, to each their own!

The recipe can be found here.

I purchased a ham steak for the ham as I didn’t want to purchase a big one just for this recipe, and I didn’t want to purchase thick slices at the deli counter as I figured it would add up quickly!  I cut the ham steak in half and just used that and I froze the other half for soup at a later date.  I found the recipe to be pretty versatile, so you can make changes if you want to suit your own tastes.  I added Red Robin seasoning salt on top of the salt and pepper to taste.  I didn’t measure cheese or onions, I just used 2 medium sized onions and probably used about 3/4 of the cheese, maybe I can call it healthy now! haha.

The soup is fantastic, and I would definitely recommend!

YYC Pizza Week Winner!

Hey guys, 

Sorry for the delay in posts, we just bought and moved into our very first house!  Our lives have been pretty hectic in the last few weeks and it has made it pretty difficult to get in the kitchen much or write posts but I will be back soon I promise!

I’m sure you all remember my last post, the creation of my No Vampires Allowed pizza for the YYC Pizza Week Food Bloggers Challenge, mmm. I was notified about 1.5 weeks ago that all of your votes for me had paid off and I placed 1st out of the 15 food bloggers who had participated. I am completely blown away by the win, since at least some of the others are more experienced than I am and have been operating blogs longer, but I proved that you shouldn’t ever count yourself out!


So again, I apologize for being away but wanted to announce this on my blog and thank you all so much for helping me to make this happen! My friends, family and followers are amazing!

Keep an eye out, a blog post will be coming soon! 

#YYCPizzaWeek Food Bloggers Challenge!

I was sent an email a few weeks ago inviting me to participate in the annual YYC Pizza Week Food Bloggers Challenge.  All that was said in the original email was that there would be 4 mystery ingredients and we had to work with at least 2 of them. We would not be told what the mystery ingredients were until after we accepted the challenge.  I eagerly accepted with the support of my amazing husband, Matt who promised he would be my sous chef and help me in any ways needed.

The day came that we were told what mystery ingredients we could choose from.

1. Fig Spread
2. Housemade pesto
3. Ricotta
4. Pitted assorted olives
mystery ingredients
The decision was pretty easy for me because 1. I don’t like olives, and 2. I don’t think I’ve ever eaten a fig.  I figured that I could taste match the pesto and the ricotta pretty easily and The Italian Store was awesome enough to sponsor these ingredients AND a fresh batch of dough if you wanted (of COURSE I accepted this!).
It was 9 pm when I decided it was now or never and we got to work!  Matt was a fantastic sous chef and taster extraordinaire helping me to make sure all the flavours and amazing tastes were there.
First of all, I pre-heated the oven.  I was a little unsure of what temperature I should cook the pizza on, so I took to Google to answer my important question.  I stumbled across some sites saying you should put your oven as hot as it will go!  This was 550 on our oven.  I was a little worried, but there were some notes in there that assured everything would be okay so I decided to go for it.
The essentials
The essentials
I pressed out the dough on the pizza pan after buttering the pan generously, and I used a fork to poke some tiny holes to make sure the dough wouldn’t bubble up too much.
Then, I stuffed the crust!!
Mmmm...
Mmmm…

The stuffed crust mix consisted of beautiful, fresh ricotta cheese, pesto, chopped garlic/garlic oil, seasoning salt, basil & parsley

IMG_6162
The pizza sauce was made from tomato paste, pesto, MORE garlic, dill, italian seasonings & seasoning salt again.  A little layer of pepperoni was then added.
IMG_6164
The pepperoni was covered with a layer of three cheeses (mozzarella, provolone and parmesan) and topped off with some delicious prosciutto and a few dashes of basil.
IMG_6177-0
Voila, my beautiful finished product! It ended up staying in the oven about 18 minutes and came out beautifully as you can see.  The crust was brushed with melted butter before going in for that awesome golden brown colour.  The prosciutto was a perfect ham and bacon all in one as parts were crispy and delicious.
Please click here to vote for my pizza!  You can vote for more than one as well!
Who wants to have a pizza party?

Homemade Chicken Bites & Buffalo Sauce 

On Sunday night, Matt and I decided that we were going to finally try the pierogis that our friend Jay had made and I really didn’t feel like going traditional with it so we decided to pair them with some homemade chicken bites!

First we got 2 pans going on a medium heat with bacon grease and canola oil.

This is the chicken breast that I cut up into strips, 2 breasts was way more than enough for 2 people! We created our own dredge with flour, breadcrumbs and seasonings such as milled garlic, reb robin seasoning (similar to a seasoning salt) and onion powder. Matt had the brilliant idea to put into dry, then the milk and egg mixture, then back into the dry again to make it extra crunchy!

We then dropped the chicken bites into the hot oil, flipping once nicely browned and left them for about 5-6 minutes per side.

Action shot!

We started the pierogis at the same time as the chicken as we knew it would take a long time since they are so big! We cooked from frozen until they were heated through and nicely browned with a great crust.

How the chicken looked while cooking.

Mmmm…these look delicious!

Voila!

With the homemade buffalo sauce!
Matt even created his own buffalo sauce for this which was amazing!  He used Frank’s Red Hot, worchestershire sauce, butter, red robin, garlic and onion powder and it was phenomenal!

This last picture isn’t the most beautiful, but it shows how great the food looked before I dug in.  Note the large side of sour cream, that’s the Ukrainian in me!

Matt and I have never made our own pierogis, but we are looking forward to having our very own kitchen in our first house to experiment in soon!!